Why Email Security Matters More Than Ever for Your Business
How to setup DKIM, SPF, DMRAC record for your email and what it is important is a critical task for any business. Here’s the quick answer:
Quick Setup Overview:
- SPF Record – Add a DNS TXT record listing authorized email servers (e.g.,
v=spf1 include:_spf.google.com ~all). - DKIM Record – Generate a key pair through your email provider and add the public key as a DNS TXT record.
- DMARC Record – Create a policy record (start with
v=DMARC1; p=none; rua=mailto:[email protected]) after SPF and DKIM are working.
Why it matters: These three records protect your domain from being used in phishing attacks, ensure your legitimate emails reach inboxes, and build trust with email providers like Gmail and Yahoo.
If your important emails land in spam folders, or scammers are sending phishing emails from your domain, you’re facing the consequences of poor email authentication. The numbers tell a stark story: 91% of all cyberattacks start with a phishing email. With the average business user sending and receiving 121 emails daily, email remains a primary attack vector.
That’s why major email providers like Google and Yahoo now require proper email authentication. As of February 2024, emails that don’t pass these checks may be blocked or sent straight to spam.
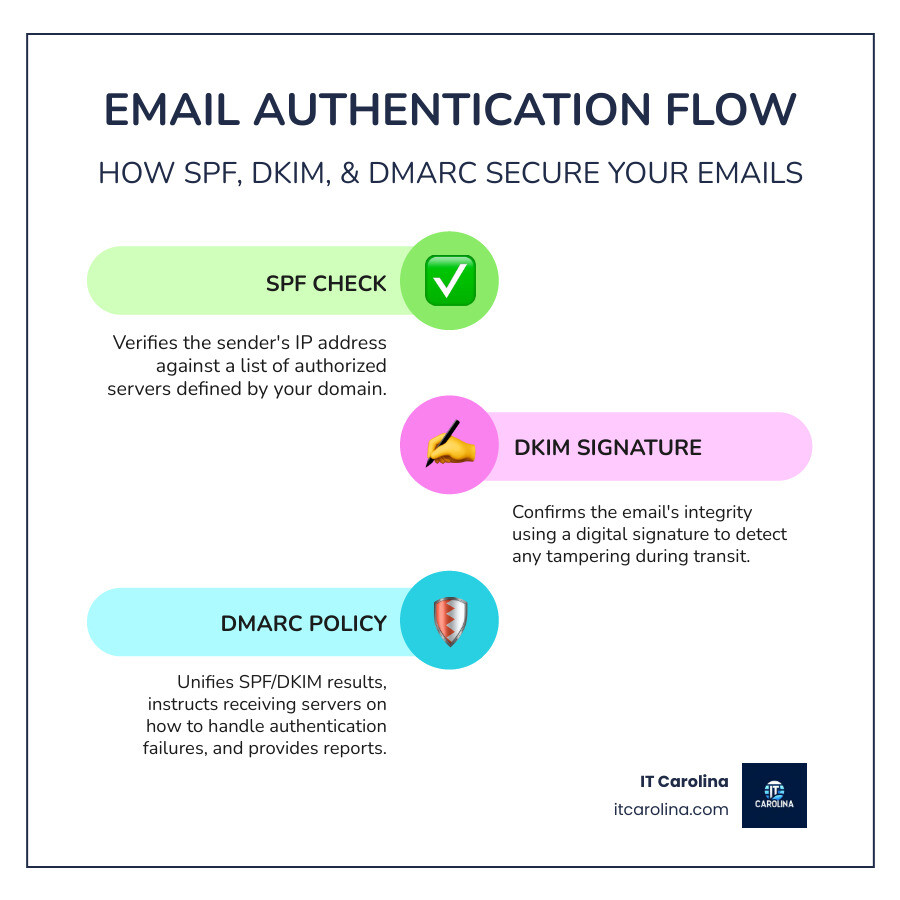
The good news is that setting up SPF, DKIM, and DMARC records is more straightforward than it sounds. These three protocols work together as your email’s security team, verifying that messages claiming to be from your domain are authentic and haven’t been tampered with.
What Are SPF, DKIM, and DMARC and Why Are They Crucial?
To understand how to setup DKIM, SPF, DMRAC record for your email and what it is important, you must first know what they do. Think of them as your email’s security team, proving your messages are legitimate. Without them, anyone can pretend to send emails from your domain—a practice called email spoofing.
When scammers spoof your domain, your customers can be fooled by phishing attacks, your reputation suffers, and your legitimate emails land in spam. Major providers like Gmail and Outlook can’t verify your emails are genuine, so they assume the worst. This tanks your email deliverability, causing important messages to be blocked or never seen.
SPF, DKIM, and DMARC prevent this. They work through DNS TXT records—public text entries in your domain’s settings that tell other servers how to verify your emails. For a broader look at protecting yourself online, check out our guide on essential online security tips.
How SPF (Sender Policy Framework) Works
SPF answers the question: “Is this email coming from an approved server?” You publish a list of authorized mail servers (identified by their IP addresses) in a DNS TXT record.
When an email arrives, the receiving server checks the sender’s IP address against your SPF list. If the IP is on the list, the email passes the SPF check. If not, it’s a red flag for spoofing. This simple mechanism is highly effective at preventing unauthorized sending from your domain.
An SPF record looks like this:
v=spf1 include:_spf.google.com include:spf.protection.outlook.com ~all
This record says that only Google and Microsoft Outlook servers are authorized. The ~all tells servers to treat mail from other sources as suspicious but not to reject it outright.
How DKIM (DomainKeys Identified Mail) Works
If SPF checks the sender’s ID, DKIM puts a tamper-proof seal on the message. It uses digital signatures to ensure the email hasn’t been altered in transit.
Before an email is sent, your server signs it with a secret private key. You publish a matching public key in your DNS records. The receiving server uses your public key to verify the signature. If the signature is valid, it confirms two things: the email is from your domain, and its content is unchanged. This cryptographic verification is like a security seal on a medicine bottle—if it’s broken, you know something is wrong. For a technical deep dive, review the official DKIM standard.
A DKIM record contains your public key:
k=rsa; p=MIGfMA0GCSqGSIb3DQEBAQUAA4GNADCBiQKBgQC...
Your email provider generates this key for you.
How DMARC (Domain-based Message Authentication, Reporting, and Conformance) Works
DMARC unifies SPF and DKIM and tells receiving servers what to do when authentication fails. It acts as the final instruction manual for your email security.
DMARC introduces alignment, which requires the domain in the visible “From” address to match the domain authenticated by SPF or DKIM. This stops sophisticated spoofing attacks.
Most importantly, DMARC provides a reporting mechanism. You receive daily reports on all emails claiming to be from your domain, showing which passed or failed authentication. This gives you visibility into spoofing attempts and helps you find legitimate sending services you may have missed. You can set policies to monitor (p=none), quarantine to spam (p=quarantine), or reject (p=reject) failing emails. For more background, visit the DMARC overview.
A typical DMARC record looks like this:
v=DMARC1; p=quarantine; rua=mailto:[email protected]; pct=100
This tells servers to quarantine failed emails and send reports to your specified address.
The Ultimate Guide on How to setup DKIM, SPF, DMRAC record for your email and what it is important
Setting up these records involves adding specially formatted text records to your domain’s DNS settings, which you access through your domain host (like GoDaddy, Namecheap, or Cloudflare).
Crucial Note: DNS changes are not instant. They can take up to 48 hours to propagate worldwide. Set up SPF and DKIM first, wait at least 48 hours for them to settle, and only then add your DMARC record. Rushing this can cause legitimate emails to be blocked.
If you prefer an expert to handle this, that’s what we’re here for. Proactive IT support can help you get configured correctly without the stress.
Step 1: How to setup your SPF record
Your SPF record lists all servers authorized to send email for your domain.
First, identify every service that sends email using your domain. This includes your primary email provider (Google Workspace, Microsoft 365), marketing platforms (Mailchimp), CRMs (Salesforce), and transactional email services (SendGrid). Each service will provide an SPF “include” statement, like include:_spf.google.com.
Your domain can only have one SPF record. If you use multiple services, you must merge their include statements into a single record. Multiple SPF records will cause authentication to fail.
For example, if you use Google Workspace and Mailchimp, your merged record would be:
v=spf1 include:_spf.google.com include:servers.mcsv.net ~all
The record must start with v=spf1. The ~all at the end is a “softfail,” which marks unauthorized emails as suspicious. We recommend starting with ~all instead of -all (hardfail) until you are certain all legitimate senders are included.
To set it up, log into your domain host’s DNS manager. Create a new TXT record (or edit an existing one starting with v=spf1).
- Host/Name: Enter
@or your domain name. - Type: TXT
- Value: Paste your complete SPF record.
- TTL (Time To Live): Use 3600 (1 hour).
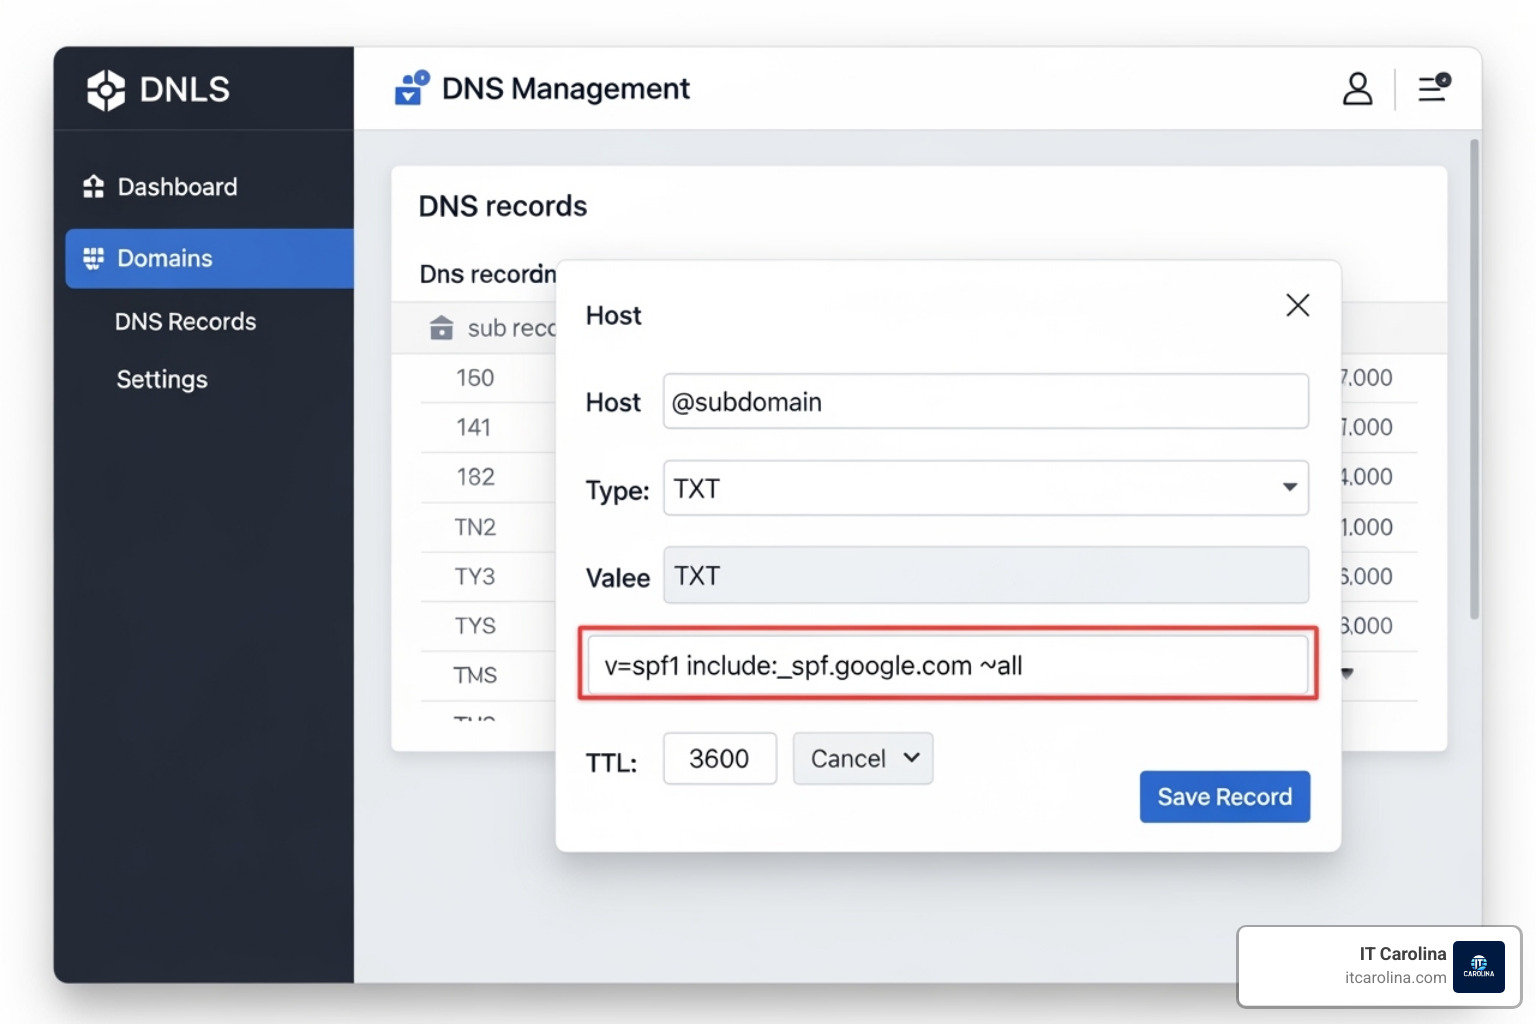
Example SPF record: v=spf1 include:_spf.google.com ~all
Save the record. It will begin propagating across the internet.
Step 2: How to setup your DKIM record
DKIM proves your emails haven’t been tampered with using a cryptographic signature. Your email provider generates a private key (kept secret on their servers) and a public key (which you publish in your DNS).
In your email provider’s admin console (e.g., Google Workspace, Microsoft 365), find the email authentication or DKIM section and generate a new key. Your provider will give you two pieces of information:
- A selector (a name like
googleors1). - The public key (a long string of characters).
Now, add a new TXT record in your DNS settings.
- Host/Name:
selector._domainkey.yourdomain.com(e.g.,google._domainkey.yourdomain.com). - Type: TXT (or CNAME if your provider specifies).
- Value: The long public key string, usually starting with
v=DKIM1; k=rsa; p=. - TTL: 3600.
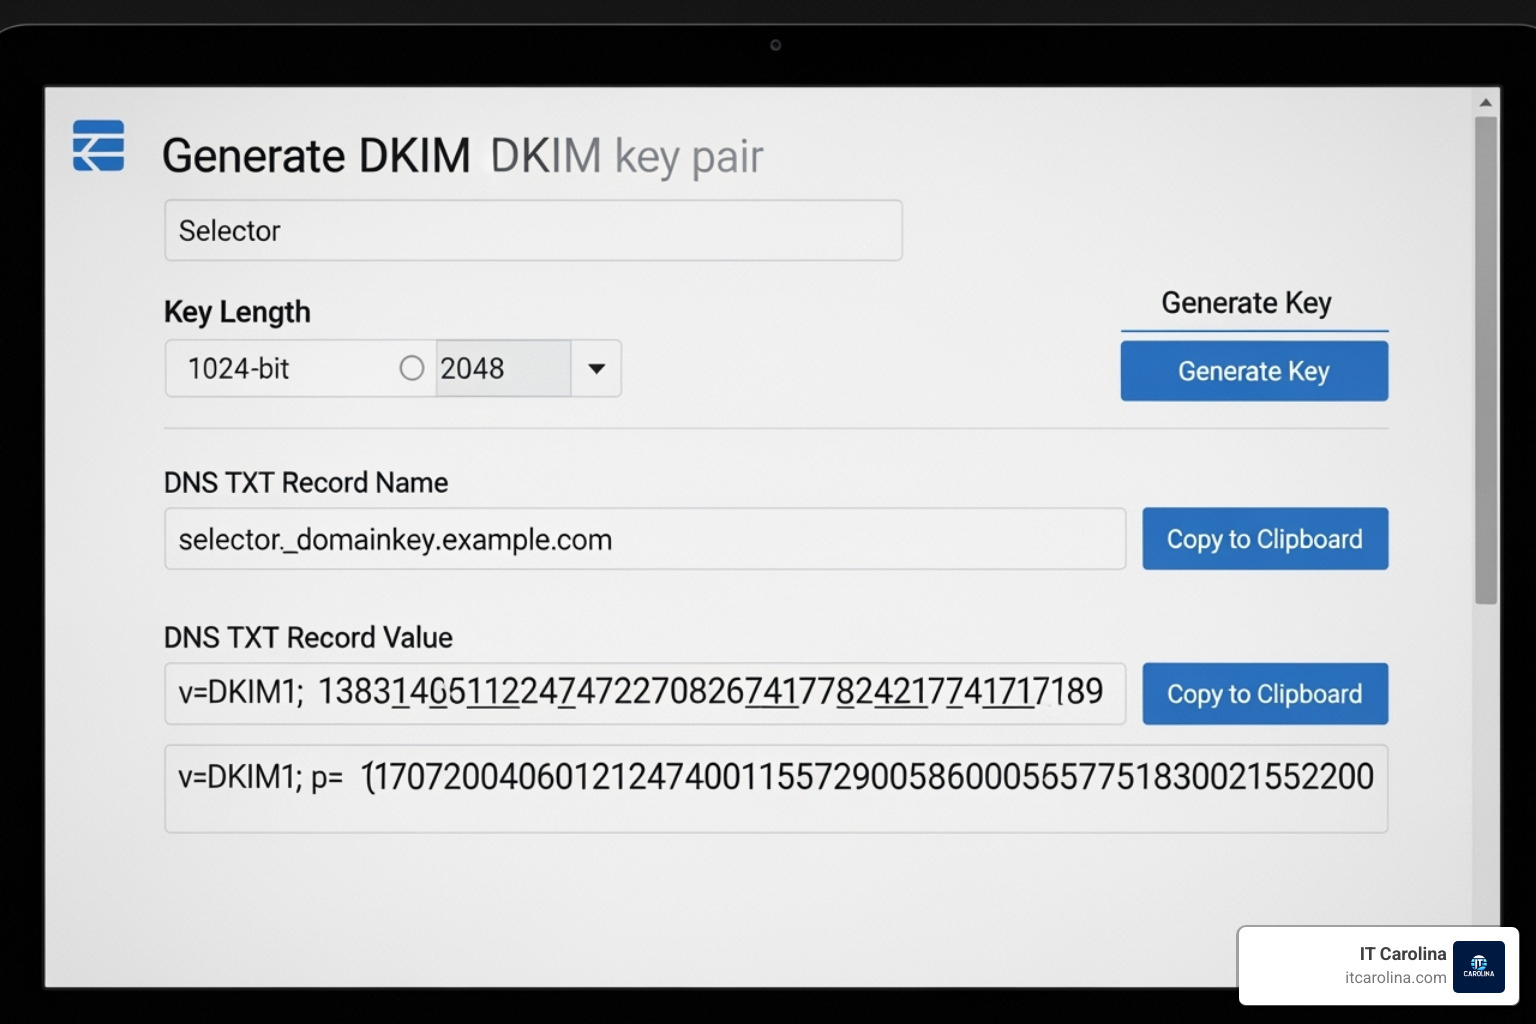
Example DKIM record: k=rsa; p=MIGfMA0GCSqGSIb3DQEBAQUAA4GNADCBiQKBgQC...
After saving the DNS record, return to your email provider’s admin console and activate DKIM signing. This tells their servers to start applying the signature to your outgoing emails.
Step 3: How to setup your DMRAC record
DMARC unifies SPF and DKIM, provides reporting, and sets a policy for failed emails.
Important: Ensure your SPF and DKIM records have been active for at least 48 hours and are working correctly before implementing DMARC.
Your DMARC record is defined by its policy (p=) tag.
p=none(Monitoring): Start here. This policy collects reports on email activity without blocking or quarantining anything. It allows you to identify all legitimate sending sources before enforcing a stricter policy.p=quarantine(Quarantine): Sends failing emails to the spam/junk folder. Move to this after monitoring withp=none.p=reject(Reject): Blocks failing emails completely. Use this only after you are 100% confident all legitimate mail is authenticated.
The rua= tag specifies an email address to receive aggregate reports (e.g., rua=mailto:[email protected]). These XML reports show your authentication results. You can also use the pct= tag to apply the policy to a percentage of emails (e.g., pct=10) for gradual rollouts.
To set it up, create a new TXT record in your DNS.
- Host/Name:
_dmarc.yourdomain.com - Type: TXT
- Value: Your DMARC record.
- TTL: 3600.
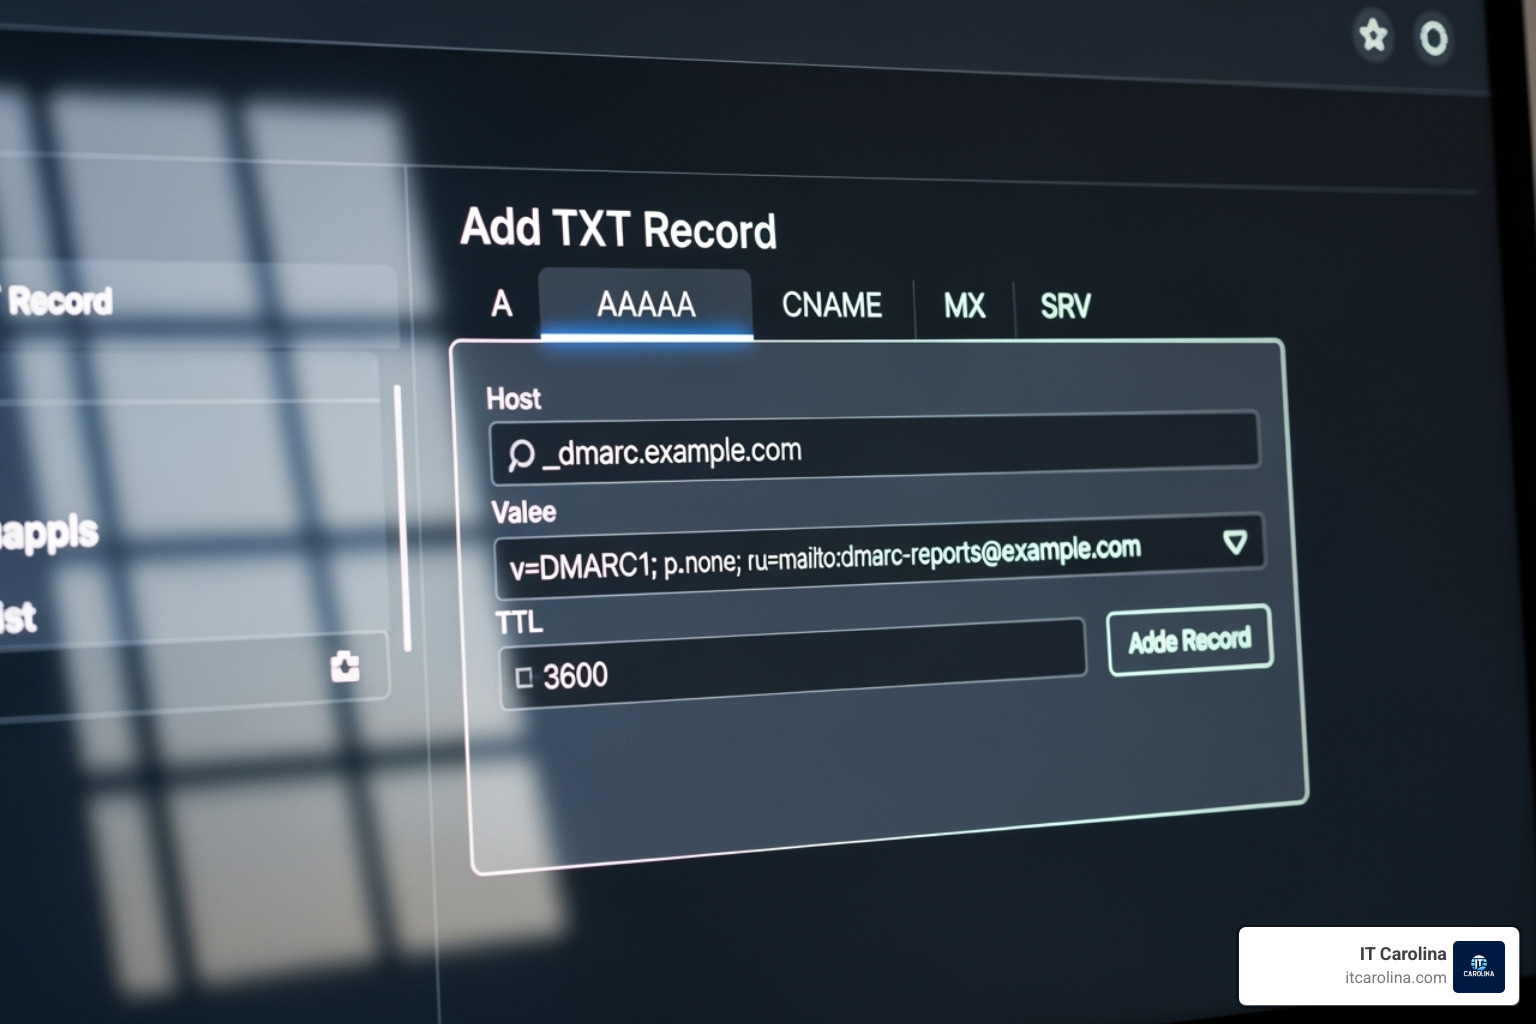
Example DMARC record: v=DMARC1; p=none; rua=mailto:[email protected]
Save your changes. You have now set up all three email authentication records.
Best Practices and Common Challenges
Now that you’ve set up your records, follow these best practices to ensure a smooth rollout and avoid common pitfalls.
The most important rule for DMARC is to take it slow. Always start with a p=none policy. This “learning mode” collects data via reports without blocking any emails, giving you time to find and fix issues with legitimate sending sources. After monitoring for several weeks (or months for complex setups), you can gradually move to a stricter policy. Use the pct= tag to test the waters (e.g., p=quarantine; pct=10) before applying it to all your mail.
DMARC reports are sent as raw XML files, which can be difficult to read. Consider using a DMARC report analyzer service (like dmarcian or Postmark’s) to turn this data into user-friendly dashboards. These tools help you quickly spot authentication problems and malicious activity.
Be aware of these common challenges:
- SPF 10-lookup limit: An SPF record cannot generate more than 10 DNS lookups. If you use many third-party services, you may exceed this limit, causing SPF to fail. You may need to consolidate services or use an SPF flattening tool.
- Email forwarding: When an email is forwarded, the forwarding server’s IP address won’t match your SPF record, causing SPF to fail. However, DKIM typically survives forwarding, which is why having both is crucial for DMARC to pass.
- Typos in DNS records: A single misplaced character can invalidate a record. Double-check your syntax and use an online validation tool like MxToolbox to verify your SPF, DKIM, and DMARC records after publishing them.
Email authentication is just one piece of your cybersecurity strategy. For more guidance, see our guide on cybersecurity tips for small businesses.
How to Check if an Email is Authenticated
To confirm your setup is working, you can inspect the headers of a test email. Send an email from your domain to a separate account (like on Gmail or Outlook).
Once it arrives, view the original message source or headers.
- In Gmail: Open the email, click the three dots, and select “Show original.”
- In Outlook: Open the email, go to File > Properties, and find “Internet headers.”
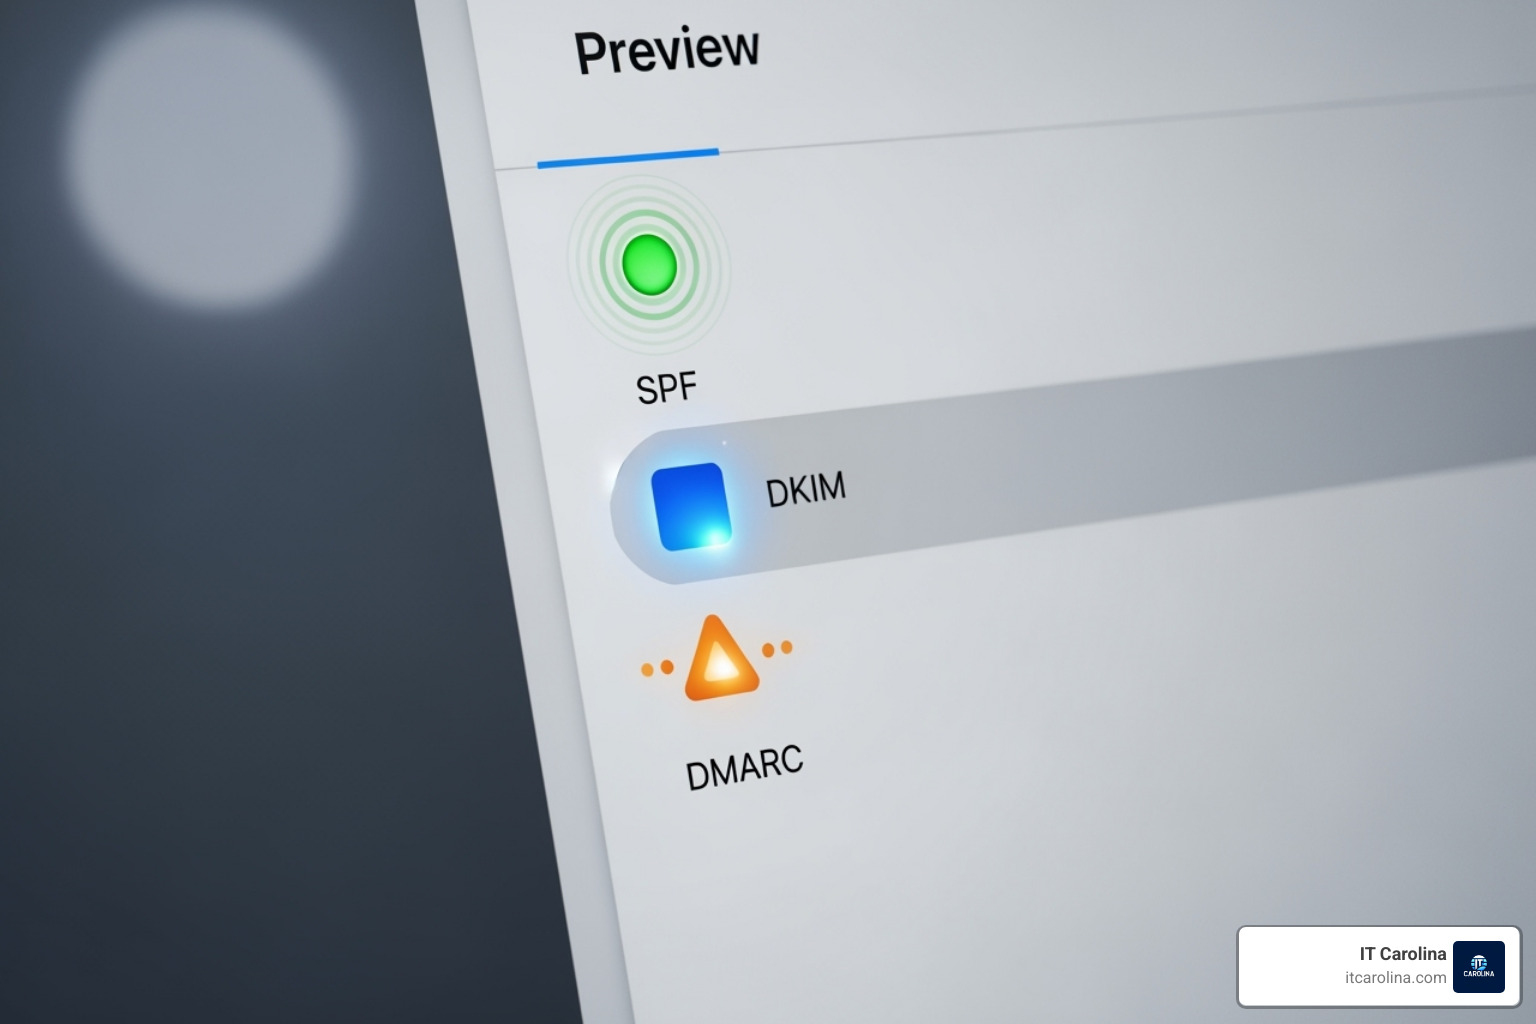
In the headers, look for the Authentication-Results: line. This is your report card. A successful setup will show spf=pass, dkim=pass, and dmarc=pass. If you see “fail” or “softfail,” review your DNS records for typos and check your DMARC reports for clues.
Frequently Asked Questions about Email Authentication
We’ve covered the setup for How to setup DKIM, SPF, DMRAC record for your email and what it is important, but some questions come up often. Here are the quick answers.
What happens if I have multiple SPF records?
Having multiple SPF records invalidates your SPF setup. When a receiving server finds more than one v=spf1 record, it will likely fail the check. You must merge all your authorized sending sources into a single SPF TXT record for your domain.
How long does it take for these DNS changes to work?
DNS changes can take up to 48 hours to fully propagate across the internet. This delay is due to TTL (Time To Live) settings and caching. It is critical to wait at least 48 hours after setting up SPF and DKIM before you implement your DMARC record to ensure they are working correctly.
Should I start with a DMARC policy of reject?
No, you should never start with p=reject. Doing so risks blocking legitimate emails from forgotten services (like a website contact form or billing system). The best practice is to start with p=none. This “monitoring-only” mode lets you receive DMARC reports and analyze your email traffic without affecting mail delivery, ensuring all legitimate sources are authenticated before you enforce a stricter policy.
Secure Your Email and Protect Your Business
Email is critical to your business reputation and bottom line. When scammers impersonate your domain or your messages land in spam, it causes real damage.
Understanding How to setup DKIM, SPF, DMRAC record for your email and what it is important is the solution. These three records—SPF, DKIM, and DMARC—are essential security layers that stop criminals, ensure your emails get delivered, and give you control over your domain’s reputation.
Think of it as a security system for your domain. Once set up, these records work quietly in the background to protect you 24/7.
If DNS records and cryptographic keys sound overwhelming, you’re not alone. At IT Carolina, we speak fluent “tech” so you don’t have to. We’ve helped countless small businesses in Charlotte, NC set up bulletproof email authentication without the headaches. Our team handles the technical details and explains everything in plain English.
Your business deserves email that reaches its destination. Your customers deserve to trust that emails from you are genuine. And you deserve the peace of mind that comes with a secure domain.
Ready to lock down your email security? Explore our comprehensive IT services and let’s have a conversation about keeping your business safe. We promise: no jargon, just straightforward solutions that work.