In an era where data privacy is paramount, safely wiping your laptop’s data before selling, donating, or recycling it is crucial. The process varies between macOS and Windows, and each has its unique steps and implications. This guide will first discuss essential preparations necessary before embarking on data wiping. Following that, we delve into specific Windows data wiping methods, highlighting the security implications of each. Finally, we explore advanced techniques and tools for data wiping on both macOS and Windows, ensuring comprehensive data removal and peace of mind. Through these chapters, you will gain a complete understanding of how to securely erase data from your laptop, protecting your personal information from potential misuse.
Preparing for a Safe Data Wipe: Ensuring Data Security on macOS and Windows
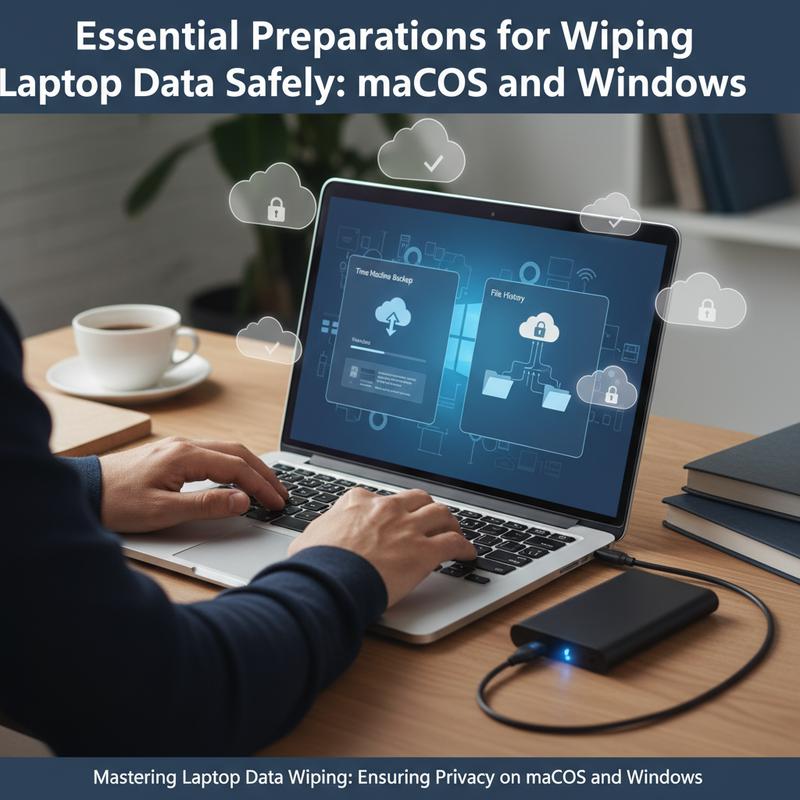
Preparation for a Safe Data Wipe
Wiping your laptop’s data isn’t simply about hitting a delete button; it’s a meticulous process that demands thorough preparation to ensure complete security and effectiveness. Whether you are preparing to hand over your trusted hardware or just resetting it for your own use, the pre-wipe groundwork significantly influences the outcome. This stage lays the foundation for either a clean slate or a catastrophic loss, depending on how diligently these preparations are executed.
Backup your Data: The cardinal rule of data management: always have a backup. Prior to any data wipe, ensure that all files are safely stored elsewhere. Utilize external drives or leverage the versatility of cloud storage to cover all bases. For irreplaceable data, employ a dual-backup strategy—save these files to two different media or services. Alongside, maintain a record of your passwords, license keys, and access credentials. This foresight prevents losing access to valuable applications and services post-wipe.
Deauthorize Services: Many applications tie their licenses to specific devices. Before a data wipe, it is essential to deauthorize these apps to ensure seamless reactivation later. This is particularly pertinent for services like iTunes, Adobe, Steam, and other software with device-specific licensing.
Disable Tracking Services: For those using macOS, ensure to sign out of “Find My” services. On Windows, make certain that all tracking features are duly turned off. This process not only prevents interference with the wiping process but also secures your privacy post-wipe. It’s a safeguard against unwarranted data retention or leakage.
Unlink Accounts: Before the process commences, sign out of all linked accounts, such as email and cloud services. This step ensures that the wiping process does not retain fragments of your personal data tied to apps and web services.
Encryption for Speed and Security
Preemptively enabling disk encryption can expedite and reinforce the efficacy of a wipe. When encryption like BitLocker for Windows or FileVault for macOS is active, a crypto-erase simply involves discarding the cryptographic key, amping up both speed and security. The latent data, sans keys, becomes practically irretrievable.
Preparing Installation Media
For Windows users, downloading and preparing installation media is a wise step. The Microsoft Media Creation tool is an invaluable asset for preparing bootable USB drives, ensuring that your system is ready for a fresh installation once the data wiping procedure is complete.
Assessing Hardware and Connections
Knowing whether your system is running on an HDD or SSD is pertinent as each requires a distinctive approach to wiping. SSDs, due to their architecture, require specialized software that addresses wear leveling, ensuring a thorough data cleanse.
Prior to initiating the wipe, disconnect any external storage devices to avert the accidental erasure of important external data. Additionally, make sure your internet connection is reliable for completing installations or retrieving essential updates post-wipe.
Tailored Preparations for macOS and Windows
macOS users should pay special attention to signing out of their Apple ID and securing their FileVault recovery keys. Additionally, for Apple Silicon-based systems or those equipped with the T2 chip, familiarizing yourself with the “Erase All Content and Settings” option in System Settings is beneficial.
For Windows systems, ensuring access to Microsoft account details and having those all-important product keys on hand can mitigate potential reactivation headaches. A clean reinstall policy can serve as an insurance policy against corrupt file manifestations or malware lingering from past mishaps.
By attending to each of these preparative measures, you not only pave the way for a flawless data wipe but also uphold the integrity of your personal information and software resources. Approaching this task with diligence ensures a seamless transition, whether you’re passing on your device or setting yourself up for a refreshed digital experience.
For further insights on managing your IT infrastructure and similar preparatory measures, exploring resources like The Ultimate IT Checklist for Onboarding and Offboarding Employees might offer valuable perspectives.
Comprehensive Windows Data Wiping: Methods and Secure Practices
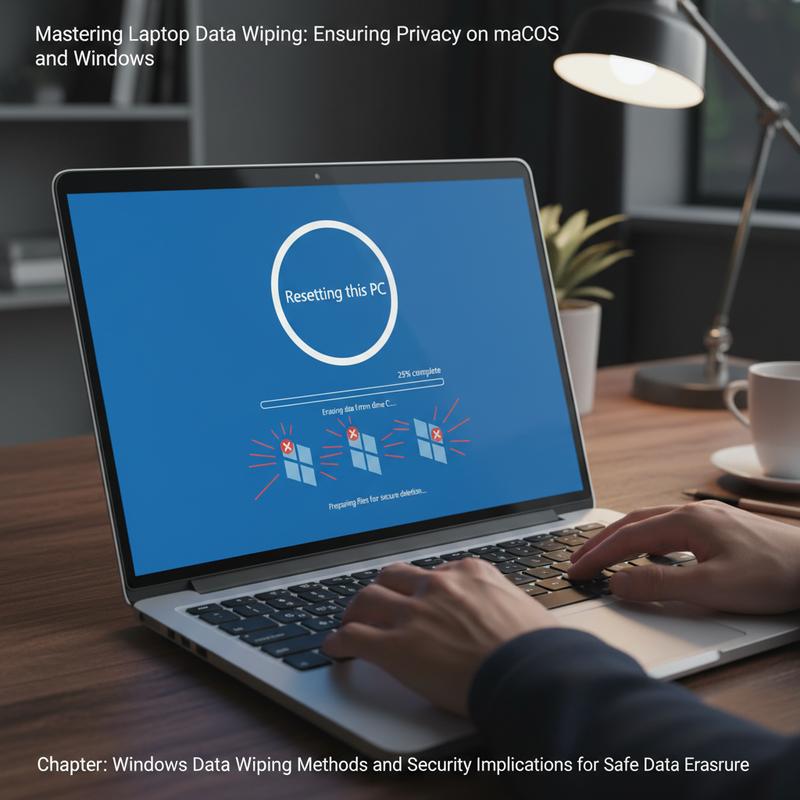
To truly secure personal or sensitive data on a Windows laptop before sale or disposal, it’s imperative to understand the comprehensive methods available for data wiping. Data wiping is distinct from mere deletion; it permanently overwrites stored data, effectively rendering it irretrievable even with advanced recovery tools. Here’s a closer look at how this process works on Windows machines and the security implications involved.
At the core of Windows data erasure is the understanding that simply deleting a file or formatting a drive does not ensure complete removal. Deleted files often linger in the residual spaces of a drive, making them potentially recoverable. Thus, the effectiveness of data wiping largely relies on overwriting the entirety of the drive’s storage sectors with new data. Built-in tools provided by Windows, such as the diskpart utility, can facilitate this process, yet their capabilities may not fully meet stringent security requirements needed for sensitive data.
Native Windows Tools and Commands
Two handy Windows-native tools for data management are diskpart and cipher. While diskpart excels at managing disk partitions, it’s not inherently designed for secure erasure. It provides initial partition removal—yet, to wipe data securely, more robust usage is needed. The cipher command, executed as cipher /w:C, enhances this by facilitating the overwriting of the free space within a drive, yet it too comes with certain limitations and might not reach optimal efficiency for complete data destruction.
Adding an extra layer of security involves employing Windows’ BitLocker encryption. Activating BitLocker ensures data is encrypted, making subsequent installations of Windows after encryption deactivate access to previous file structures, effectively destroying access to old data. Although more complex than a standard wipe, this method proves effective for a cautious security approach.
Bootable Tools for Uncompromised Erasure
Among the most secure options for wiping are bootable disk tools. These operate independently of the Windows OS, circumventing any OS-related obstacles such as file locks or interference from malware. Bootable utilities can perform complete and thorough overwrites of all data on a drive, using incredibly secure algorithms such as DoD 5220.22-M or Gutmann, making recovery near impossible.
Tools like DBAN (Darik’s Boot and Nuke) provide these capabilities for hard disk drives (HDDs), employing scripts that automate the secure erase process using advanced overwriting standards. However, it’s important to note that DBAN doesn’t effectively wipe solid-state drives (SSDs) due to their different design architecture, which involves wear leveling—a process that moves data around memory cells to extend the drive’s lifespan.
Advanced Algorithms for Various Needs
Choosing the appropriate algorithm for wiping often depends on the balance between the required security level and the time available. Algorithms range from simple overwriting, using zero-fill or random data fill methods, to more complex standards. The DoD 5220.22-M method offers a balanced approach, with multiple passes that are sufficient for most users’ security needs, without excessive time consumption.
For maximum security, particularly for drives with potential exposure to sensitive data, the Gutmann method is recommended. Though time-intensive—with its 35 passes over the disk surface—it provides extraordinary thoroughness in erasure.
Selecting the Right Tool for Your Needs
Software options abound for those looking to erase data conclusively. AOMEI Backupper stands out with a user-friendly interface and multi-device support, compatible with both HDDs and SSDs while offering a range of secure erase options. EaseUS BitWiper and KillDisk provide solid alternatives, the latter excelling with a specialty in multiple erasure standards for both HDD and SSD types.
When approaching data wiping on a Windows system, choosing the right method—or combination of methods—is dictated by one’s specific needs and security concerns, alongside the type of storage devices being erased. Each solution, from simple deletion commands to advanced bootable wiping tools, offers varying levels of security and operational intricacy. Always confirm the chosen method by ensuring that comprehensive wipe verification takes place, using specialized verification software to confirm the absence of recoverable data. Such best practices ensure both personal and professional integrity when preparing your device for its next life cycle.
For those navigating the intricacies of managing Windows devices, further insights can be explored at Hidden Windows Shortcuts IT Wizard.
Mastering Data Wipe Techniques: Advanced Methods for macOS and Windows
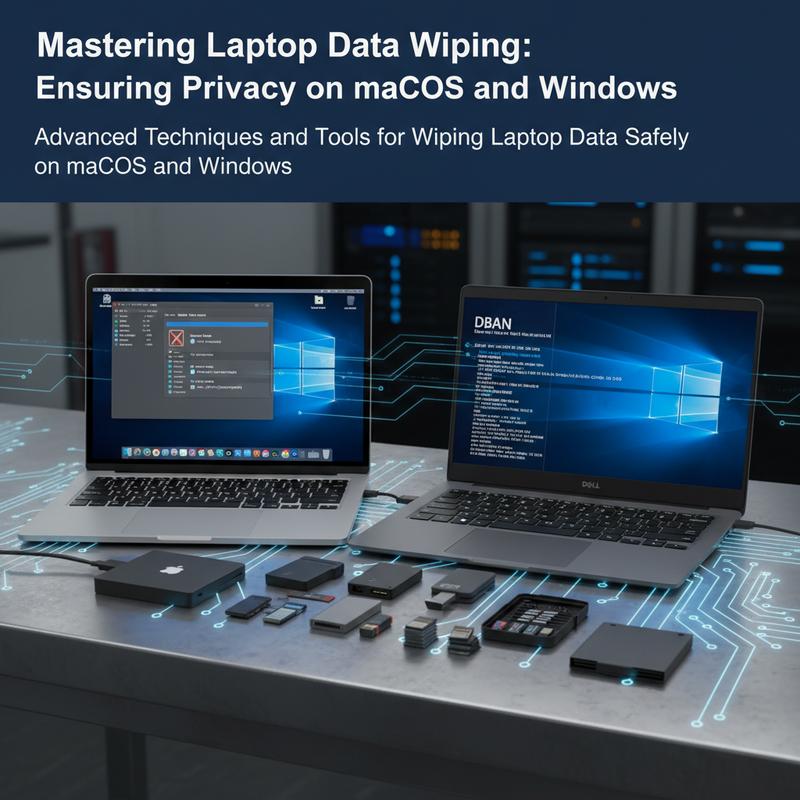
Wiping the data on your laptop is a crucial step to ensure personal and sensitive information doesn’t fall into unintended hands, especially when the device is to be sold, donated, or disposed of. In recent years, both macOS and Windows have developed integrated utilities to perform data wipes. However, advanced techniques enhance these capabilities, providing professionals and meticulous users with reliable methods to ensure absolute data eradication.
For users operating on Windows, the built-in command-line interface offers potent tools for data eradication. One such tool is diskpart, a command-line utility that allows users to overwrite every sector of a drive, ensuring the data is entirely wiped out. Utilizing diskpart, professionals can select the specific disk and execute the clean all command, which provides a thorough wipe by overwriting the data completely, leaving no trace behind. This approach is particularly suited for environments where data security is paramount, reducing the risk of data recovery to almost none.
Another native option is the cipher /w command, which focuses on wiping unallocated space on the hard drive. This is an efficient method for ensuring that deleted files, previously occupying these spaces, cannot be retrieved by recovery software. When used prior to sector-specific solutions like diskpart, cipher ensures unallocated spaces are cleared, complementing a comprehensive wipe strategy.
Beyond the built-in utilities, third-party software like Eraser offers a robust solution for data removal on Windows systems. These tools use more advanced patterns to overwrite files and free space, often meeting stringent regulatory standards for data destruction.
As for macOS users, Apple has introduced a cryptographic erase feature for systems with Apple Silicon or T2 Security Chip running on macOS Monterey or later. This technique is groundbreaking in its efficiency, as it eliminates data by destroying encryption keys, rendering data instantly inaccessible without requiring the conventional overwrite methods. On supported Macs, this can be done by accessing the Erase All Content and Settings feature directly through system settings, providing a seamless and speedy erasure process.
For older versions or users on traditional macOS hardware, using Disk Utility in Recovery Mode is a time-tested method for securely deleting data. By restarting the Mac and holding Command + R, you enter Recovery Mode, where Disk Utility allows you to perform a secure erase from multiple overwrite passes, recommended at the most secure levels for mechanical drives. This approach is detailed and allows users to tailor the level of security for their specific needs, although it does not apply to SSDs due to their different storage technologies.
External drives can also be wiped securely in macOS using Disk Utility. The process mirrors that of internal drives, allowing users to select overwrite security options to ensure no residual data remains accessible.
No matter the method, preparation is key. It’s essential to back up necessary data before initiating any data wipe procedure. Important accounts should be de-authorized and unlinked; failing to perform these tasks could potentially lock subsequent users out of essential functionalities. This includes unlinking cloud accounts and turning off services like Find My to avoid activation locks.
Ultimately, while built-in tools on modern operating systems provide an excellent base for data protection, advanced methods, including command-line utilities and enterprise-level software solutions, offer elevated security. Whether using Windows or macOS, understanding and employing these techniques ensures that your device is left in a pristine state, devoid of recoverable data, enhancing both personal and professional data security.
For more detailed tips on setting up your devices for optimal use, you might find interest in this comprehensive guide on buying the right business laptop to avoid common mistakes.
Final thoughts
Effectively wiping your laptop’s data is not just a step but a necessity in today’s digital landscape. Whether you’re using macOS or Windows, utilize the methods and tools outlined in this guide to ensure your personal data is permanently deleted before your device moves on to its new purpose. By safeguarding your privacy and ensuring a clean slate for your laptop, you contribute to both personal security and the responsible recycling of technology. This comprehensive approach empowers you to handle data wiping with confidence, aligning with best practices for data privacy.
Ready to upgrade or recycle your old laptop? Let IT Carolina handle your data wipe securely and stress-free—schedule your appointment today!
Learn more: https://itcarolina.com/about/
About us
IT Carolina provides professional, secure data wiping services for both MacOS and Windows laptops, ensuring your personal information is thoroughly erased before reselling or recycling your devices. Our expert team uses advanced methods to guarantee complete data removal while preparing your system for its next chapter. Whether you’re upgrading your gear or clearing out your tech closet, trust IT Carolina to safeguard your digital privacy and handle the process efficiently. Enjoy peace of mind with expert support tailored to your needs and timeline.