Your PC’s Built-In “Undo” Button
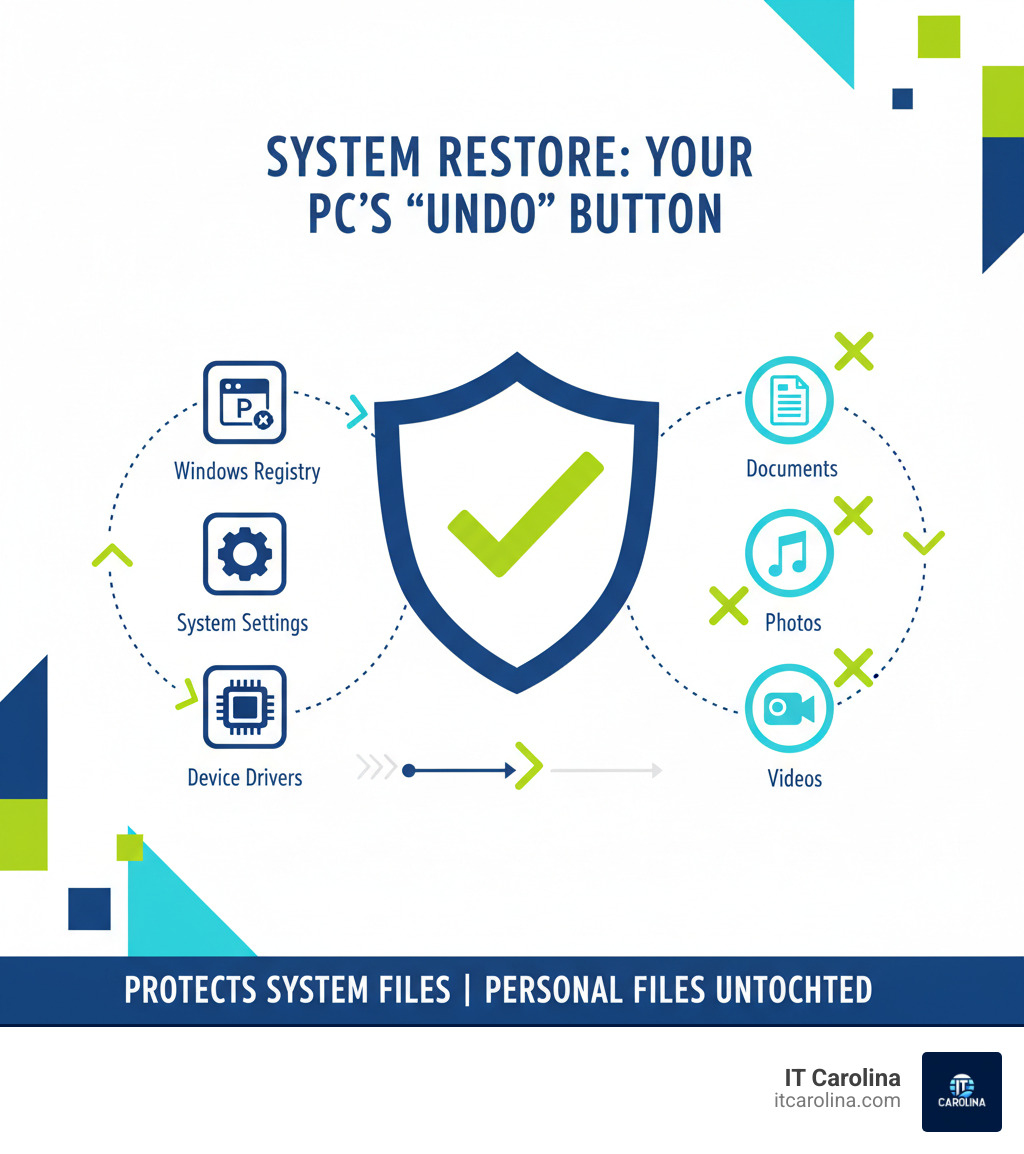
Setting up a Windows restore point is one of the smartest things you can do to safeguard your computer from software disasters. Think of it as your PC’s built-in “undo” button that can save you hours of frustration.
Quick Setup Guide:
- Search “Create a restore point” in Windows search
- Click Configure and turn on System Protection
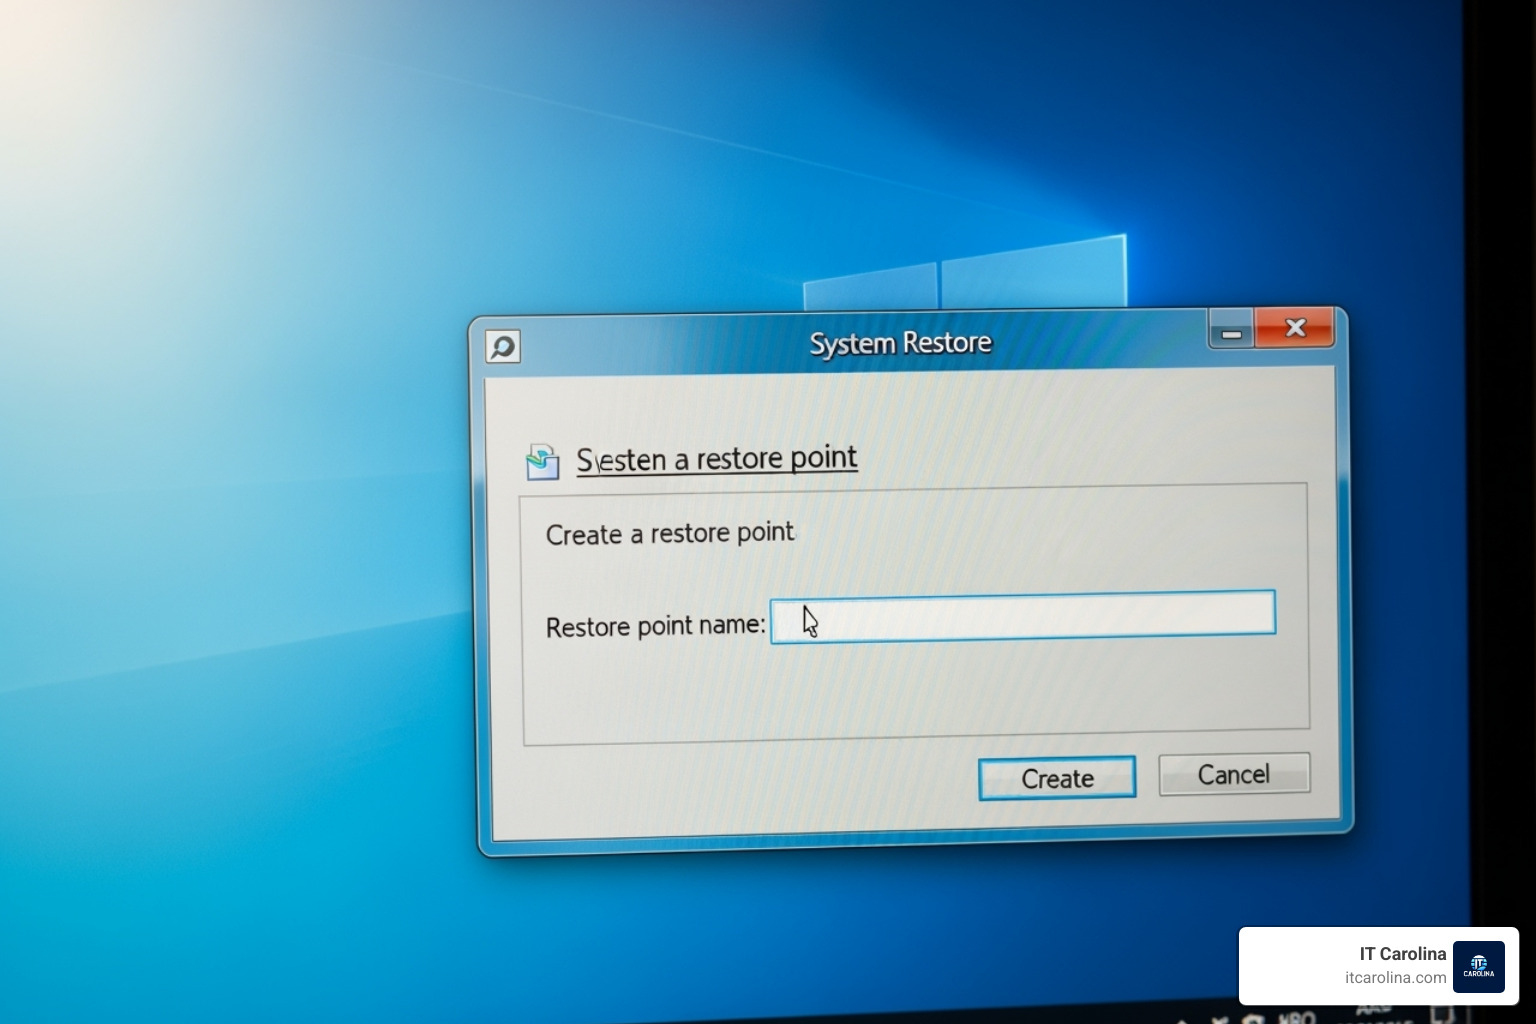
- Click Create and give your restore point a descriptive name
A Windows restore point is essentially a snapshot of your computer’s system files at a specific moment in time. When you install new software, update drivers, or make system changes, you can always roll back to this saved state if something goes wrong.
Here’s what makes restore points so valuable: they protect your system files and settings while leaving your personal documents, photos, and music completely untouched. So if that new driver causes your computer to crash or a software installation makes everything sluggish, you can rewind your PC to when it was working perfectly.
Windows creates some restore points automatically – like before major updates – but the real power comes from creating your own before making any significant changes to your system.

If you want friendly help setting this up or troubleshooting issues, explore our Tech support for home services, and learn how our proactive it approach keeps your PC running smoothly.
How to Set Up a Windows Restore Point in 3 Steps
Creating a Windows restore point is your crucial first line of defense against many Common Computer Problems and Solutions Every User Should Know. The good news? It’s surprisingly straightforward once you know the steps. Let’s walk through enabling System Protection, creating your first manual restore point, and making sure you have enough space for everything to work smoothly.
Step 1: Enable System Protection
Many people are surprised to learn that System Protection isn’t always enabled by default on Windows computers. It’s like having a smoke detector without batteries – the feature exists, but it won’t actually help you when trouble strikes. Let’s fix that right now.
The fastest way to get started is surprisingly simple. Just type “create a restore point” into your Windows search bar (that’s the little magnifying glass icon on your taskbar). When the search results pop up, click on “Create a restore point” – this takes you straight to the System Properties window with the System Protection tab already open.

Now comes the important part. Look at the list of drives in the System Protection tab. You’ll see your main system drive (usually labeled “C:” with “(System)” next to it). If it shows “Protection” as “Off”, we need to change that.
Select your system drive and click the “Configure” button. A new window opens with some radio button options. Choose “Turn on system protection” and click “Apply,” then “OK.”
That’s it! You’ve just activated one of Windows’ most useful safety features. For the complete technical details, Microsoft has an Official Microsoft guide on System Protection if you want to dive deeper.
Step 2: Manually Create Your First Restore Point
While Windows does create some restore points automatically – like before major updates – taking control and creating them manually is where the real power lies. You get to decide exactly when to create that safety net, right before you make changes that might cause problems.
Let’s create your first manual restore point. If you closed the System Properties window, just search for “create a restore point” again. Once you’re back in the System Protection tab, click the “Create” button.

Here’s where naming your restore point becomes crucial. Windows will ask for a description, and this isn’t the time to be vague. Instead of just typing “restore point,” give it a name that tells the whole story. Something like “Before installing new graphics driver” or “Pre-software update – October 2024” will be incredibly helpful later when you’re trying to figure out which restore point to use.
Click “Create” and watch the magic happen. Windows takes a few moments to capture that snapshot of your system. You’ll see a progress bar, then a confirmation message when it’s done. Click “Close” and congratulate yourself – you’ve just created your first safety net!
So when should you create these manual restore points? Before installing new software is always smart, especially if it’s from a company you haven’t heard of. Before updating drivers is another big one – faulty drivers cause more computer headaches than you might expect. Before editing the Windows Registry is absolutely essential since even tiny mistakes there can cause big problems. Before major Windows updates gives you extra peace of mind, even though Windows usually creates one automatically. Really, any time you’re about to make significant changes to your system, a fresh restore point is like having an insurance policy.
Step 3: Manage Disk Space for Your Restore Points
Restore points are wonderful, but they do need somewhere to live on your hard drive. Windows automatically manages this space, deleting older restore points when it needs room for new ones. But we want to make sure there’s enough space allocated to keep a good history without eating up your entire drive.
Head back to the System Protection tab (you know the drill by now – search “create a restore point”). Select your system drive and click “Configure” once more.

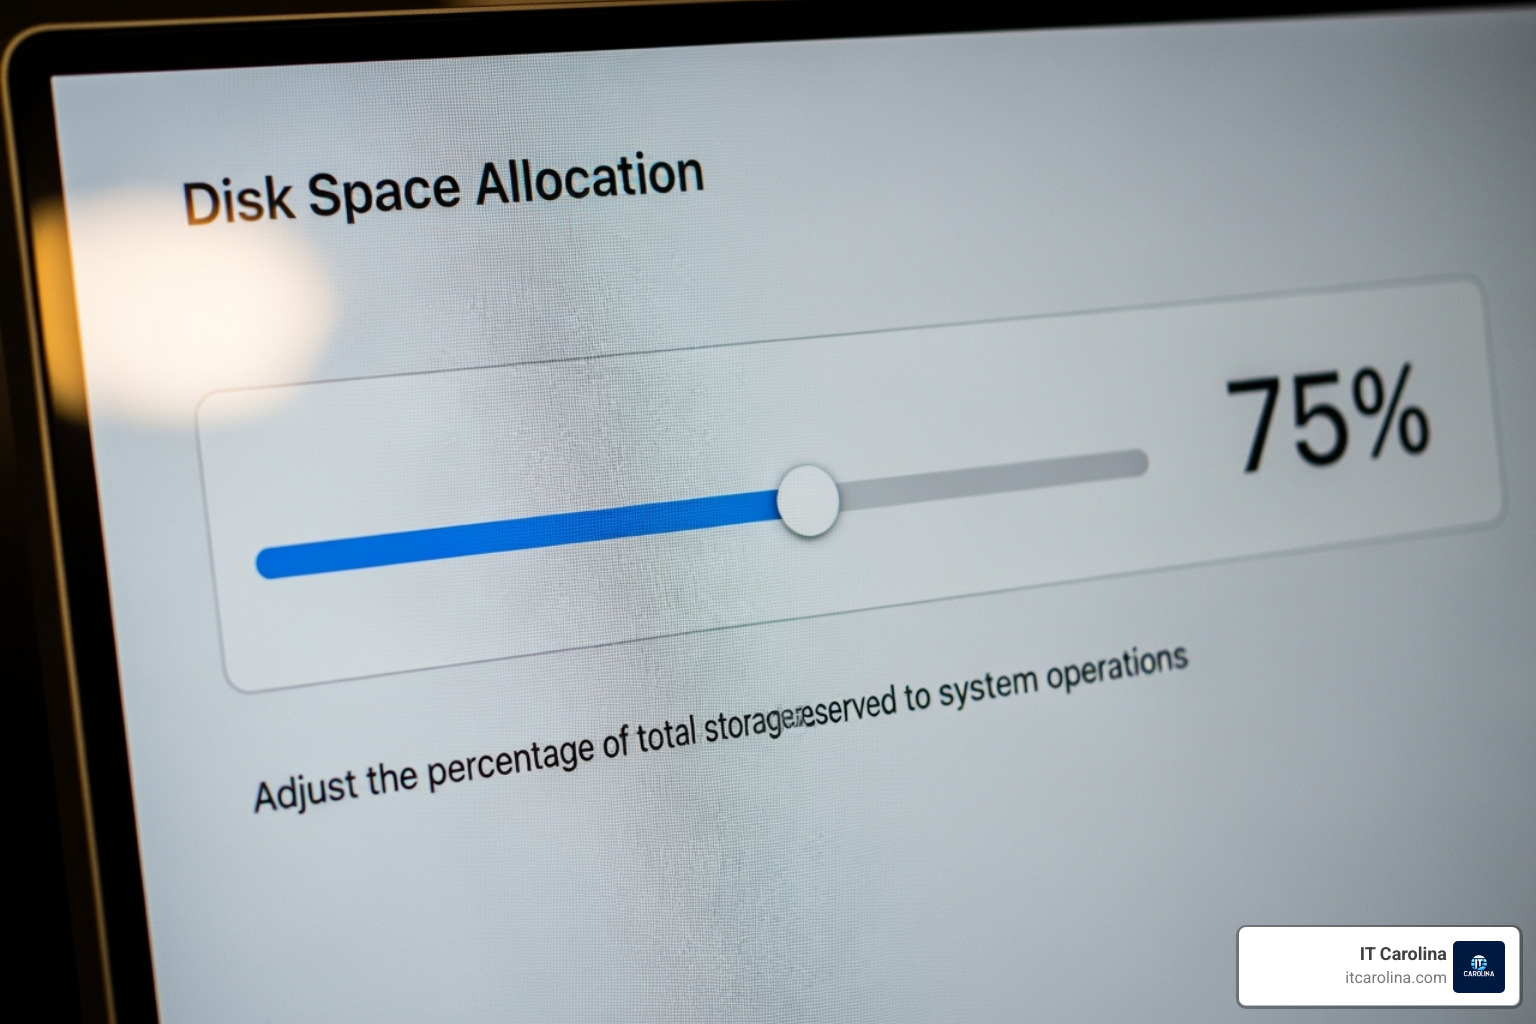
You’ll see a section called “Disk Space Usage” with a slider labeled “Max Usage.” This is your control panel for how much space Windows can use for restore points. We recommend setting this between 5-10% of your total drive space. For most modern computers, this gives you room for several restore points without cramping your storage style.
If you have a smaller hard drive, you might want to go with a lower percentage, but remember – less space means fewer restore points to choose from if you need to go back in time.
There’s also a “Delete” button that removes all existing restore points for that drive. This is handy if you’re running low on space and want to start fresh, but use it carefully since you’ll lose all your previous recovery options.
Click “Apply” and then “OK” to save your changes. Now your system has the perfect balance – enough space to keep those vital snapshots without hogging your hard drive.
System Restore vs. Full Backup: What’s the Difference?
Understanding the limitations of System Restore is key to a complete data protection strategy. It’s a recovery tool, not a full backup solution, which is vital for protecting against computer viruses or hardware failure.
After learning how to set up a Windows restore point, you might think your computer is completely protected. While restore points are incredibly valuable, they’re more like a safety net for software problems rather than a complete insurance policy for your digital life.
A good analogy is to think of System Restore as a first-aid kit in your car. It’s perfect for handling minor issues, but for a serious problem, you need a more comprehensive solution. That’s where a full backup comes in.

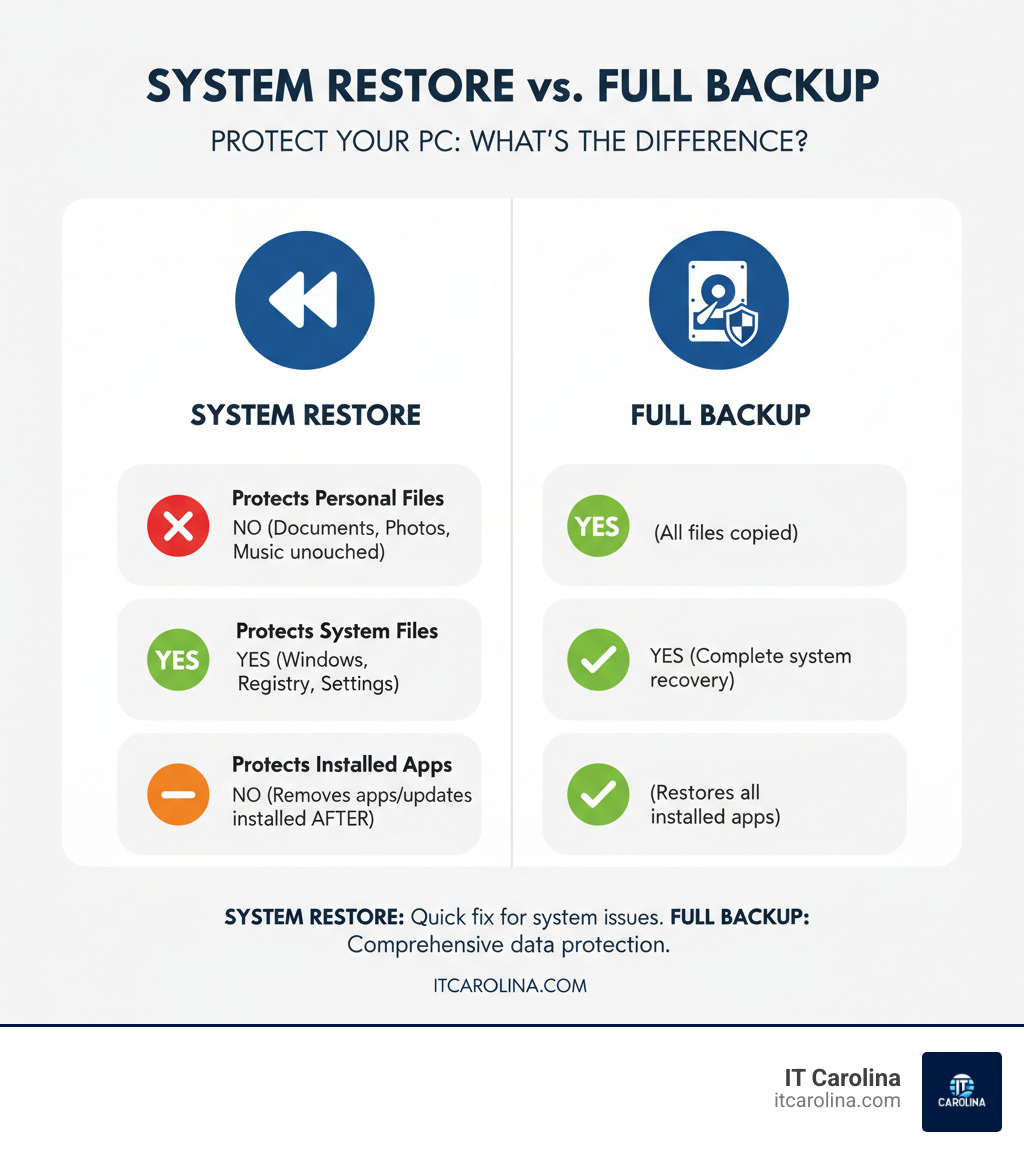
The biggest surprise for most people? System Restore doesn’t touch your personal files at all. Your family photos, important documents, music collection, and work files remain exactly where they are when you use a restore point. It only rolls back system files, Windows settings, and recently installed programs or drivers.
On the flip side, a full backup copies everything – your personal files, system files, installed programs, the works. It’s like making a complete clone of your entire computer that you can restore even if your hard drive completely dies.
| Feature / Aspect | System Restore | Full Backup (e.g., system image) |
|---|---|---|
| Protects Personal Files | No (Your documents, photos, music are untouched) | Yes (Copies all your personal files) |
| Protects System Files | Yes (Windows files, registry, settings) | Yes (Copies all system files for complete restoration) |
| Protects Installed Apps | Removes apps, drivers, updates installed after restore point was made | Yes (Restores all installed apps to the state of the backup) |
| Recovery from hardware failure | No (Cannot restore if the hard drive fails) | Yes (Can restore entire system to new hardware if needed) |
| Primary Use Case | Revert system configuration issues, software conflicts | Disaster recovery, hardware failure, complete system migration |
| Disk space required | Low-Medium (typically 5-10% of system drive) | High (can be hundreds of GBs, often requires external drive) |
| Recovery Time | Relatively fast (minutes to an hour) | Can be slow (hours, depending on backup size and hardware) |
Here’s the practical difference: if you install a new graphics driver and it makes your screen flicker constantly, System Restore can roll back that driver installation while leaving all your files untouched. But if your hard drive crashes tomorrow, System Restore can’t help you because the restore points were stored on that same failed drive.
System Restore shines when you’re dealing with software conflicts, problematic driver updates, or Windows configuration issues. It’s quick, doesn’t require external storage, and gets you back to a working system fast.
A full backup is essential when you need protection from hardware failure, theft, ransomware, or accidental file deletion. It requires more storage space and takes longer to set up and restore, but it’s your ultimate safety net.
The smart approach? Use both. System Restore handles the day-to-day software hiccups, while a full backup protects you from the big disasters. Together, they create a comprehensive protection strategy that covers both system stability and data security.
How to Use a Restore Point to Fix Your PC
Now that you’ve created a restore point, let’s talk about the payoff – actually using one when things go sideways. This is where all that preparation really pays off. Whether your computer is running like molasses or acting completely bonkers after a software update, a restore point can be your ticket back to smooth sailing.
A restore point acts like a time machine for your PC’s system files. It can often help revitalize a slow computer if the sluggishness started after you installed something new or made system changes. We’ll walk through two scenarios: the easier case where Windows still boots up (even if it’s grumpy), and the more dramatic situation where your PC refuses to start at all.
Using a Restore Point from the Windows Desktop
If your computer is still limping along and can boot into Windows – even if it’s throwing tantrums or moving at a snail’s pace – you’re in luck. Using System Restore from the desktop is pretty straightforward.
Getting Started: The quickest route is to type “create a restore point” into your Windows search bar, just like we did when setting things up. Click on the result to open System Properties, then click the “System Restore…” button. If you’re feeling adventurous, you can also press Windows key + R, type rstrui.exe, and hit Enter – either way gets you to the same place.
Choosing Your Moment: The System Restore wizard will pop up and guide you through the process. After clicking “Next,” you’ll see a list of available restore points. Windows often suggests a “Recommended restore” point, but don’t feel locked into that choice. Click “Choose a different restore point” to see your full menu of options (you might need to click “Show more restore points” to see everything).
The key here is picking a restore point from before your troubles started. If your computer was humming along perfectly last Tuesday but started acting up after you installed that new photo editor on Wednesday, pick Tuesday’s restore point.
The Smart Preview: Before you commit, click “Scan for affected programs.” This handy feature shows you exactly which programs and drivers will be removed during the restore process. It’s a great way to get a preview of the changes before they happen. Don’t worry – your personal files stay put, but you might need to reinstall some applications afterward.
The Point of No Return: Once you’ve made your choice and reviewed what’s going to happen, click “Next,” then “Finish.” Here’s the important part: System Restore cannot be interrupted once it starts. Your PC will restart and begin the restoration dance, which can take anywhere from a few minutes to an hour. Resist the urge to power off your computer during this process – patience is key!
After your PC restarts, you’ll get a message letting you know if everything went smoothly. You might need to reinstall some applications, but hopefully, your computer will be back to its old reliable self. For the official word from Microsoft, check out Microsoft’s guide on using System Restore.
How to Use a Restore Point When Windows Won’t Boot
This is where restore points really earn their superhero status. When your PC won’t even boot up properly – maybe it’s stuck in an endless loop, flashing blue screens of doom, or just sitting there looking at you blankly – we can still reach System Restore through the Windows Recovery Environment (WinRE).
Getting to the Recovery Environment: There are two main ways to access WinRE, depending on how cooperative your computer is feeling.
The power cycling method works when Windows won’t boot at all. Turn on your PC and watch for the Windows logo or spinning dots. The moment you see them, hold down the power button for 5-10 seconds to force a shutdown. Do this same routine two more times. On the third attempt, let your PC try to boot normally – it should automatically enter the Windows Recovery Environment. It’s Windows’ way of saying, “Okay, something’s definitely wrong here, let’s try to fix it.”
If you can at least reach the Windows sign-in screen (even if you can’t actually log in), try the Shift + Restart method instead. Hold down the Shift key while clicking the “Power” icon in the bottom right corner, then select “Restart.” Your PC will boot directly into WinRE.
Navigating the Recovery Menu: Once you’re in the Windows Recovery Environment, you’ll see several options. Click “Troubleshoot,” then “Advanced options,” and finally “System Restore.”

The Final Steps: You might be asked to select an administrator account and enter its password – this is just Windows making sure you’re authorized to make these kinds of changes. Once you’re in, the System Restore wizard looks and works just like it does from the desktop. Choose a restore point from before your boot problems started and let the magic happen.
A Quick Heads Up: If your computer has BitLocker encryption enabled, you might need to enter your BitLocker recovery key during this process. It’s one of those “better safe than sorry” security measures, so keep that key handy if you know you have BitLocker turned on.
Using System Restore from the recovery environment has saved countless computers from what seemed like certain doom. It’s one of the most powerful tools in your PC protection arsenal, especially when you need it most.
Frequently Asked Questions about Windows Restore Points
We get a lot of questions about Windows Restore Points, and honestly, that’s completely understandable! It’s one of those features that seems almost too good to be true. Let’s tackle the most common concerns that come up when people are learning about this useful tool.
What happens to my personal files (documents, photos, etc.) when I use System Restore?
This is hands down the question we hear most often, and I’m happy to put your mind at ease: your personal files are completely safe. System Restore won’t touch a single document, photo, music file, or video in your collection.
System Restore is very selective about what it changes. It only cares about system-level stuff – the behind-the-scenes files that make Windows tick, your installed programs, and system settings. Your vacation photos from last summer? Still there. That important work presentation you’ve been polishing? Untouched. Your entire music library? Safe and sound.
The only things that might disappear are programs, drivers, or updates you installed after the restore point was created. So if you installed a new game yesterday and restore to a point from last week, you’ll need to reinstall that game. But your personal files remain exactly where you left them.
How often does Windows create a restore point automatically?
Windows is pretty smart about creating restore points on its own, but it’s not doing it constantly. The system typically creates automatic restore points before Windows Updates – which is fantastic, because updates are one of the most common causes of system hiccups.
You’ll also see automatic restore points before driver installations, especially when you’re updating graphics cards or other important hardware components. Some larger software installations will trigger them too, particularly programs that make significant changes to your system.
Windows also does a daily check and might create a restore point if none have been made that day. But here’s the thing – while these automatic points are helpful, they’re not a substitute for taking control yourself. Creating manual restore points before you make any major changes gives you that perfect snapshot of when everything was working just right.
What should I do if System Restore is greyed out or fails?
Nothing’s more frustrating than reaching for your safety net only to find it’s not available! If System Restore is greyed out or failing, don’t panic – there are several common culprits we can check.
First, make sure System Protection is actually enabled for your main drive. It sounds obvious, but it’s the most common issue. Head back to those System Properties we talked about earlier and verify it’s turned on.
Next, we need to check if the Volume Shadow Copy service and Microsoft Software Shadow Copy Provider are running properly. These background services are what make System Restore possible. You can find them by pressing Windows key + R, typing services.msc, and making sure they’re set to “Automatic” and actually running.
Insufficient disk space is another frequent problem. If you set the space allocation too low in Step 3, Windows might not have room to work with. Try bumping up that percentage slider we talked about.
Sometimes corrupted files can throw a wrench in the works. Running the System File Checker by opening Command Prompt as an administrator and typing sfc /scannow can often clear these up. If that doesn’t help, try DISM /Online /Cleanup-Image /RestoreHealth for deeper repairs.
If you’re still having trouble, or if your computer problems go beyond what System Restore can handle, that’s exactly what our Proactive IT services are designed for. We can dig into the more complex issues and get your system back on track without all the technical headaches.
Conclusion: A Simple Step for Major Peace of Mind
Taking the time to set up a Windows restore point is one of the smartest investments you can make in your computer’s wellbeing. It provides a safety net that catches you when technology decides to throw a curveball – and trust us, it will!
We’ve walked through the entire process together: enabling System Protection, creating those crucial manual restore points, and managing disk space so you don’t run out of room for your digital safety nets. It’s really that straightforward, yet the peace of mind it provides is enormous.
System Restore is a fundamental part of good PC maintenance and a key piece of your essential online security strategy. Whether it’s a driver that goes rogue, a software installation that breaks everything, or a Windows update that leaves your computer acting like it’s having a bad day, you now have the power to simply roll back the clock to when everything was working perfectly.
It’s important to remember, however, that while System Restore is incredibly powerful for system-related problems, it’s not a substitute for backing up your precious files. Your family photos, important documents, and that novel you’ve been working on for three years? Those need a proper backup solution. Think of System Restore as your quick-fix tool and a full backup as your ultimate insurance policy.
Sometimes computer problems go deeper than what a restore point can handle, or maybe you’re just not comfortable diving into system settings on your own – and that’s perfectly okay! If you’re dealing with more complex issues, need help setting up a comprehensive backup strategy, or simply want the confidence that comes with professional support, we’re here to help.
At IT Carolina, we believe technology should make your life easier, not more stressful. Our team provides friendly, jargon-free support for home users and small businesses right here in Charlotte, NC. No confusing tech-speak, no surprise fees – just honest help when you need it most. Check out our IT services to see how we can keep your digital life running smoothly, so you can focus on what really matters to you.